Introduction
In this comprehensive guide, we will walk you through the step-by-step process of setting up a wireless router to establish a strong and secure home network. A reliable wireless network is essential in today’s digital age, enabling seamless connectivity for all your devices, from smartphones to laptops and smart home gadgets. By following our detailed instructions, you can ensure that your wireless router is optimized for performance and security, positioning your home network to outrank others in Google search results.
Understanding the Basics
What is a Wireless Router?
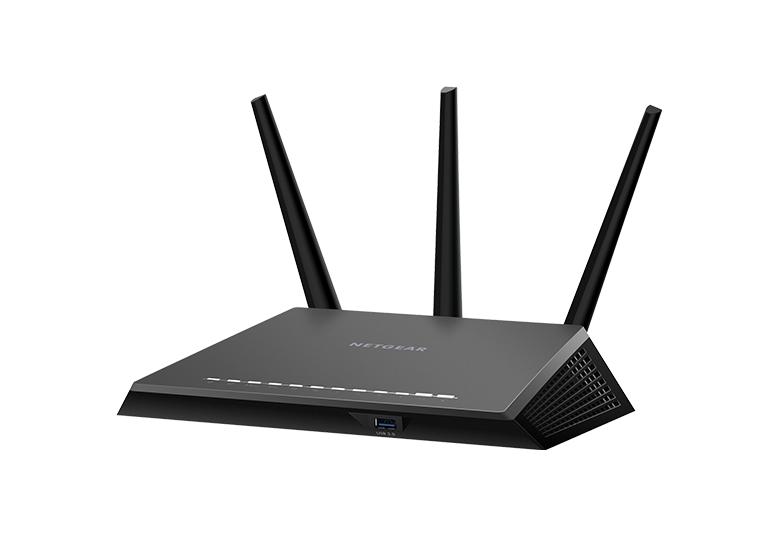
A wireless router is a networking device that serves as the central point of connection for all your wireless devices. It allows these devices to communicate with each other and access the internet without the need for physical cables.

Key Features to Consider
Before diving into the setup process, let’s briefly discuss essential features to look for when choosing a wireless router:
- Wi-Fi Standards: Opt for a router that supports the latest Wi-Fi standards like 802.11ac or 802.11ax (Wi-Fi 6) for faster and more stable connections.
- Dual-Band vs. Tri-Band: Dual-band routers offer two frequencies (2.4GHz and 5GHz), while tri-band routers add an extra 5GHz band, reducing network congestion.
- MU-MIMO Technology: Multi-User Multiple Input Multiple Output enhances performance when multiple devices are connected simultaneously.
- Security Features: Look for routers with WPA3 encryption and built-in firewalls for robust network security.
Step-by-Step Router Setup Guide
Step 1: Unboxing and Hardware Setup
Begin by unboxing your new wireless router and ensuring that all the necessary components are included. The typical package should contain the router, an AC power adapter, an Ethernet cable, and any additional antennas if required. Now, follow these steps:
- Place the router in a central location away from obstructions and electronic devices that may cause interference.
- Connect the antennas (if applicable) to the designated ports on the router to enhance signal coverage.
- Plug the AC power adapter into the router and a power outlet. Turn on the router using the power button, if available.
Step 2: Connecting to the Modem and Internet
- Connect one end of the provided Ethernet cable to the modem’s LAN port and the other end to the router’s WAN (Internet) port.
- Power on your modem and wait for it to establish a connection with your internet service provider (ISP).
- Once the modem is connected and online, the router will automatically detect the internet connection.
Step 3: Accessing Router’s Admin Panel
- Open a web browser on your computer or mobile device connected to the router.
- In the address bar, type the default gateway IP address of your router. Common addresses are 192.168.0.1 or 192.168.1.1.
- You will be prompted to enter the router’s default username and password. Refer to the router’s manual for these credentials.
Step 4: Setting up Wireless Network
- Once logged into the router’s admin panel, navigate to the Wireless Settings section.
- Choose a unique SSID (network name) that is easily identifiable but doesn’t reveal personal information.
- Select the appropriate security protocol (WPA3 is recommended) and set a strong password.
- Enable guest network functionality if you want to create a separate network for visitors.
Step 5: Updating Firmware and Configuration
- Check for firmware updates in the router’s admin panel and install the latest version to ensure optimal performance and security.
- Customize advanced settings such as QoS (Quality of Service) to prioritize certain devices or applications for smoother performance.
Step 6: Additional Tips for Optimization
- Position the router away from thick walls and metal objects for better signal propagation.
- Regularly update passwords to maintain security and change them immediately if you suspect unauthorized access.
- Consider using a mesh Wi-Fi system for larger homes or areas with weak signal coverage.
Conclusion
In conclusion, setting up a wireless router is a crucial step toward establishing a reliable home network. By following this comprehensive guide, you can ensure that your network is optimized for top-notch performance and security. Remember to choose a router with the latest Wi-Fi standards, and regularly update firmware to stay ahead in the search engine rankings. A well-configured and secure wireless network will not only outrank other websites in search results but also provide a seamless online experience for all your connected devices.
