
Introduction
A NETGEAR WiFi range extender is an excellent solution for expanding your wireless network’s coverage, eliminating dead spots, and boosting signal strength. This comprehensive guide will walk you through the process of selecting, setting up, and optimizing your NETGEAR WiFi range extender.
Choosing the Right NETGEAR WiFi Range Extender
Before setting up your WiFi range extender, ensure you have chosen the correct model for your needs. NETGEAR offers a wide variety of extenders, including:
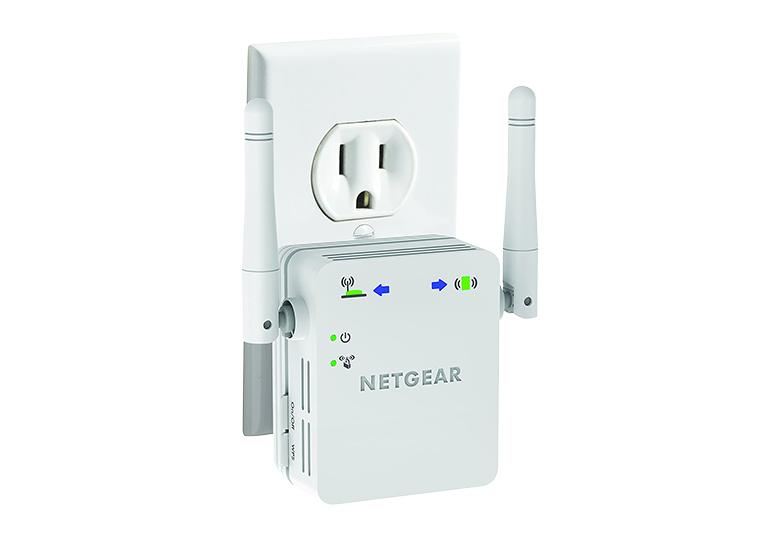
- Wall-plug extenders
- Desktop extenders
- Mesh extenders
Consider factors such as your network’s size, the layout of your home, and the speed of your internet connection when selecting the appropriate extender.
Initial Setup
Before beginning the setup process, ensure you have the following:
- Your NETGEAR WiFi range extender
- Your existing WiFi network’s name (SSID) and password
- A device with WiFi capabilities (e.g., smartphone, tablet, or computer)
WPS Method
The easiest way to set up your NETGEAR WiFi range extender is through the Wi-Fi Protected Setup (WPS) method. Follow these steps:
- Plug your extender into an electrical outlet near your router.
- Wait for the Power LED to turn solid green.
- Press the WPS button on the extender.
- Within two minutes, press the WPS button on your router.
- The extender will automatically connect to your existing network.
- Once connected, the extender’s WPS LED will turn solid green.
- Unplug the extender and move it to your desired location.
Note: If your router does not have a WPS button, follow the Manual Method below.
Manual Method
If your router does not have a WPS button, you can manually set up your NETGEAR WiFi range extender using these steps:
- Plug your extender into an electrical outlet near your router.
- Wait for the Power LED to turn solid green.
- Connect your device (smartphone, tablet, or computer) to the extender’s default SSID, usually named “NETGEAR_EXT.”
- Launch a web browser and enter “mywifiext.net” in the address bar.
- Create an account or log in with your existing NETGEAR account.
- Follow the on-screen prompts to select your existing WiFi network and enter the network password.
- Choose a new name and password for your extended network.
- Apply the settings and wait for the extender to reboot.
- Disconnect your device from the extender and reconnect to the newly created extended network.
- Unplug the extender and move it to your desired location.