
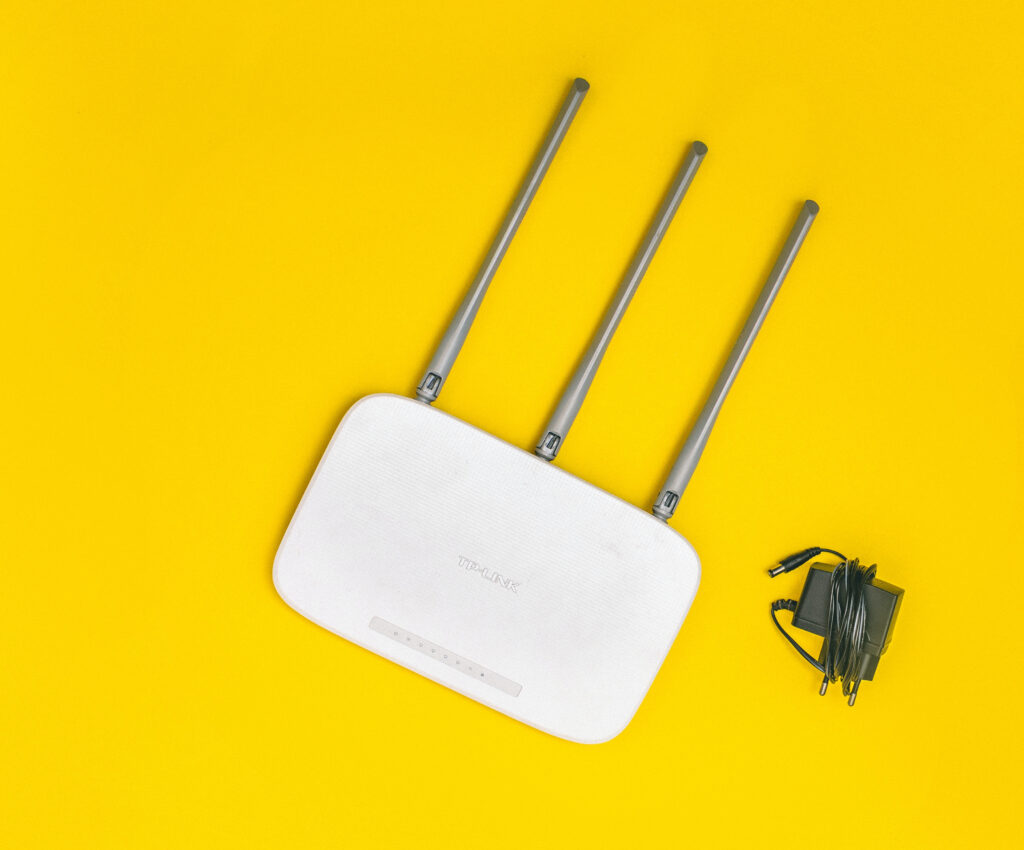
To configure a router, you will need to connect to it through a web browser or through a device such as a computer or a smartphone. Once connected, you can access the router’s settings and make any necessary changes. Some common settings that may need to be configured include the network name and password, the IP address and subnet mask, and the DNS server settings. It is also a good idea to update the router’s firmware to the latest version to ensure that it is secure and has the latest features.
To connect to the router, you will need the router’s IP address and a device that is connected to the same network. Once connected, you will be prompted to enter a username and password, which can usually be found on the router itself or in the documentation that came with it.
It is important to keep in mind that every router will have different methods of accessing the settings and configuration. It is recommended to consult the router’s manual or the manufacturer’s website for specific instructions.
Necessary Steps to Configure a Router:
- Connect the router to a power source and turn it on.
- Connect one end of an Ethernet cable to the router’s WAN port and the other end to the modem.
- Connect another Ethernet cable from a LAN port on the router to a computer.
- Open a web browser on the computer and enter the router’s IP address in the address bar. The IP address can typically be found in the router’s documentation or by searching for the default IP address for the specific make and model of the router.
- Enter the router’s username and password when prompted. The default login information can also typically be found in the router’s documentation.
- Configure the router’s settings as desired, such as setting up a wireless network, configuring security settings, and setting up port forwarding rules.
- Save the changes and reboot the router.
- Test the internet connection and verify that the router is working properly.